Getting Started with SAML SSO
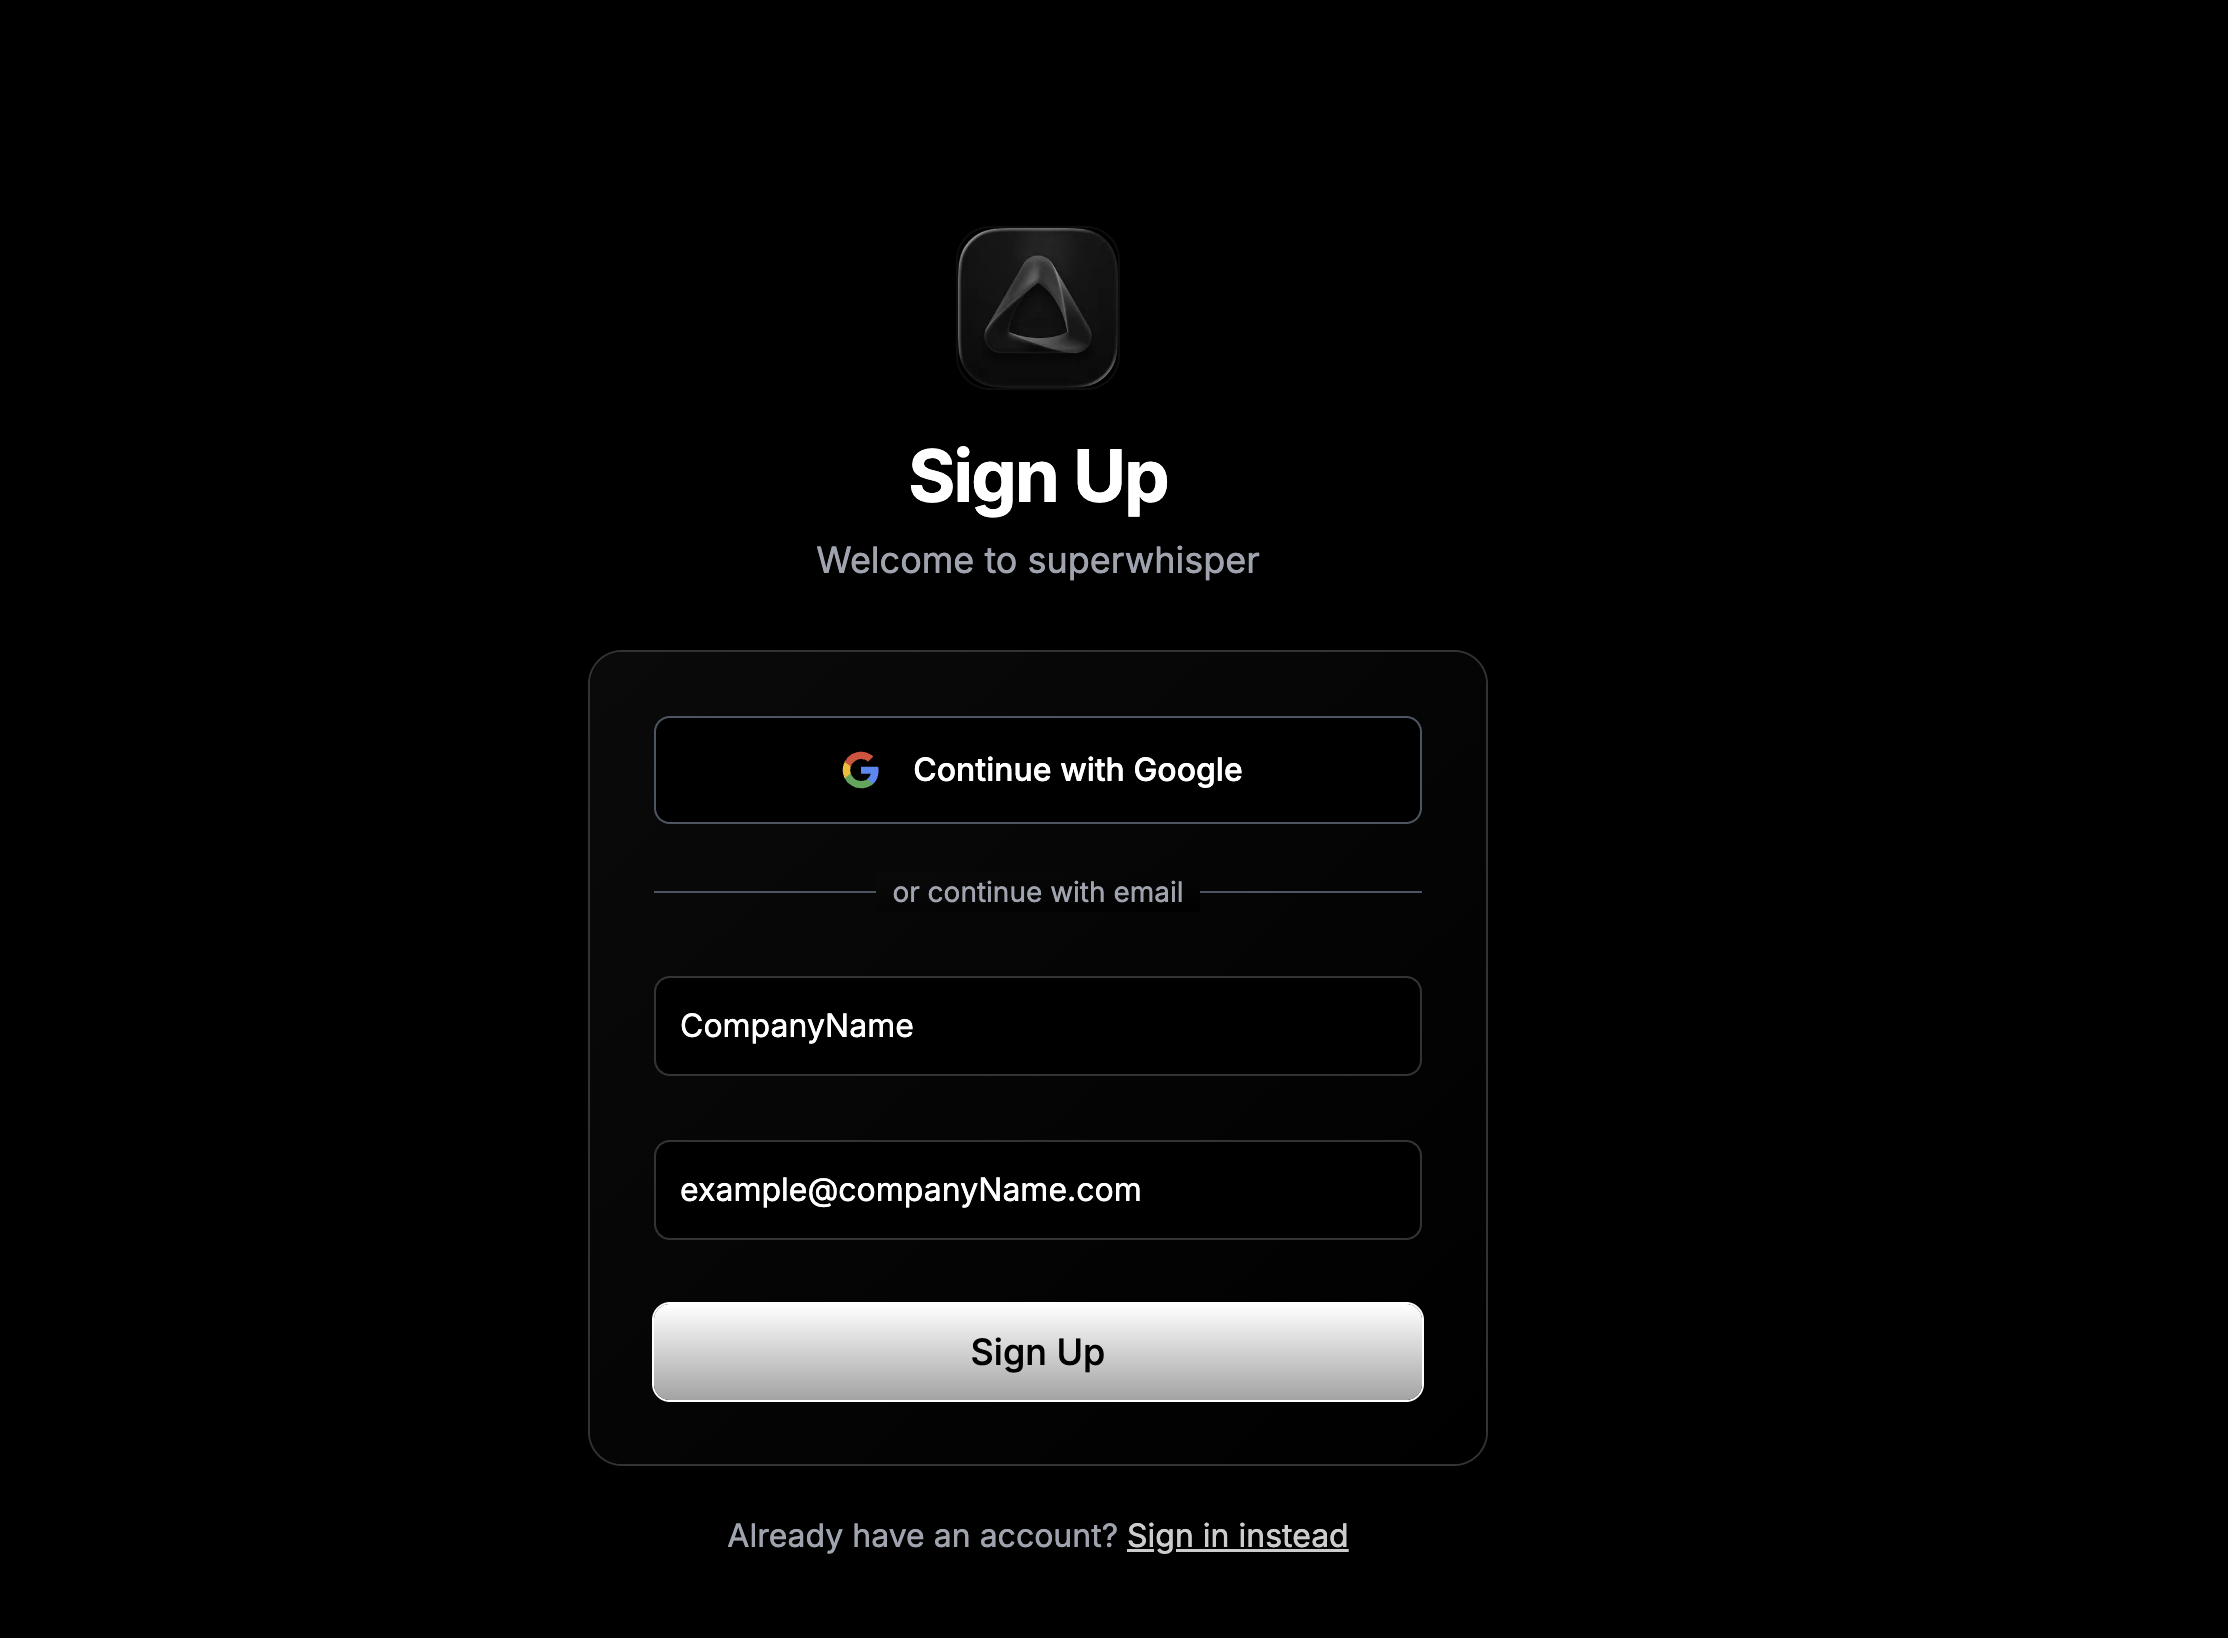
If you’d like to use SAML SSO over Google OAuth, you can head to the Enterprise Dashboard and enter your work email address in the email input (e.g. admin@superwhisper.com) and company name in the input fields. This will send you an email to claim your companies domain on Superwhisper, and push you to the dashboard where SAML setup takes place.
Configuring SAML Authentication
Inviting Technical Team Members
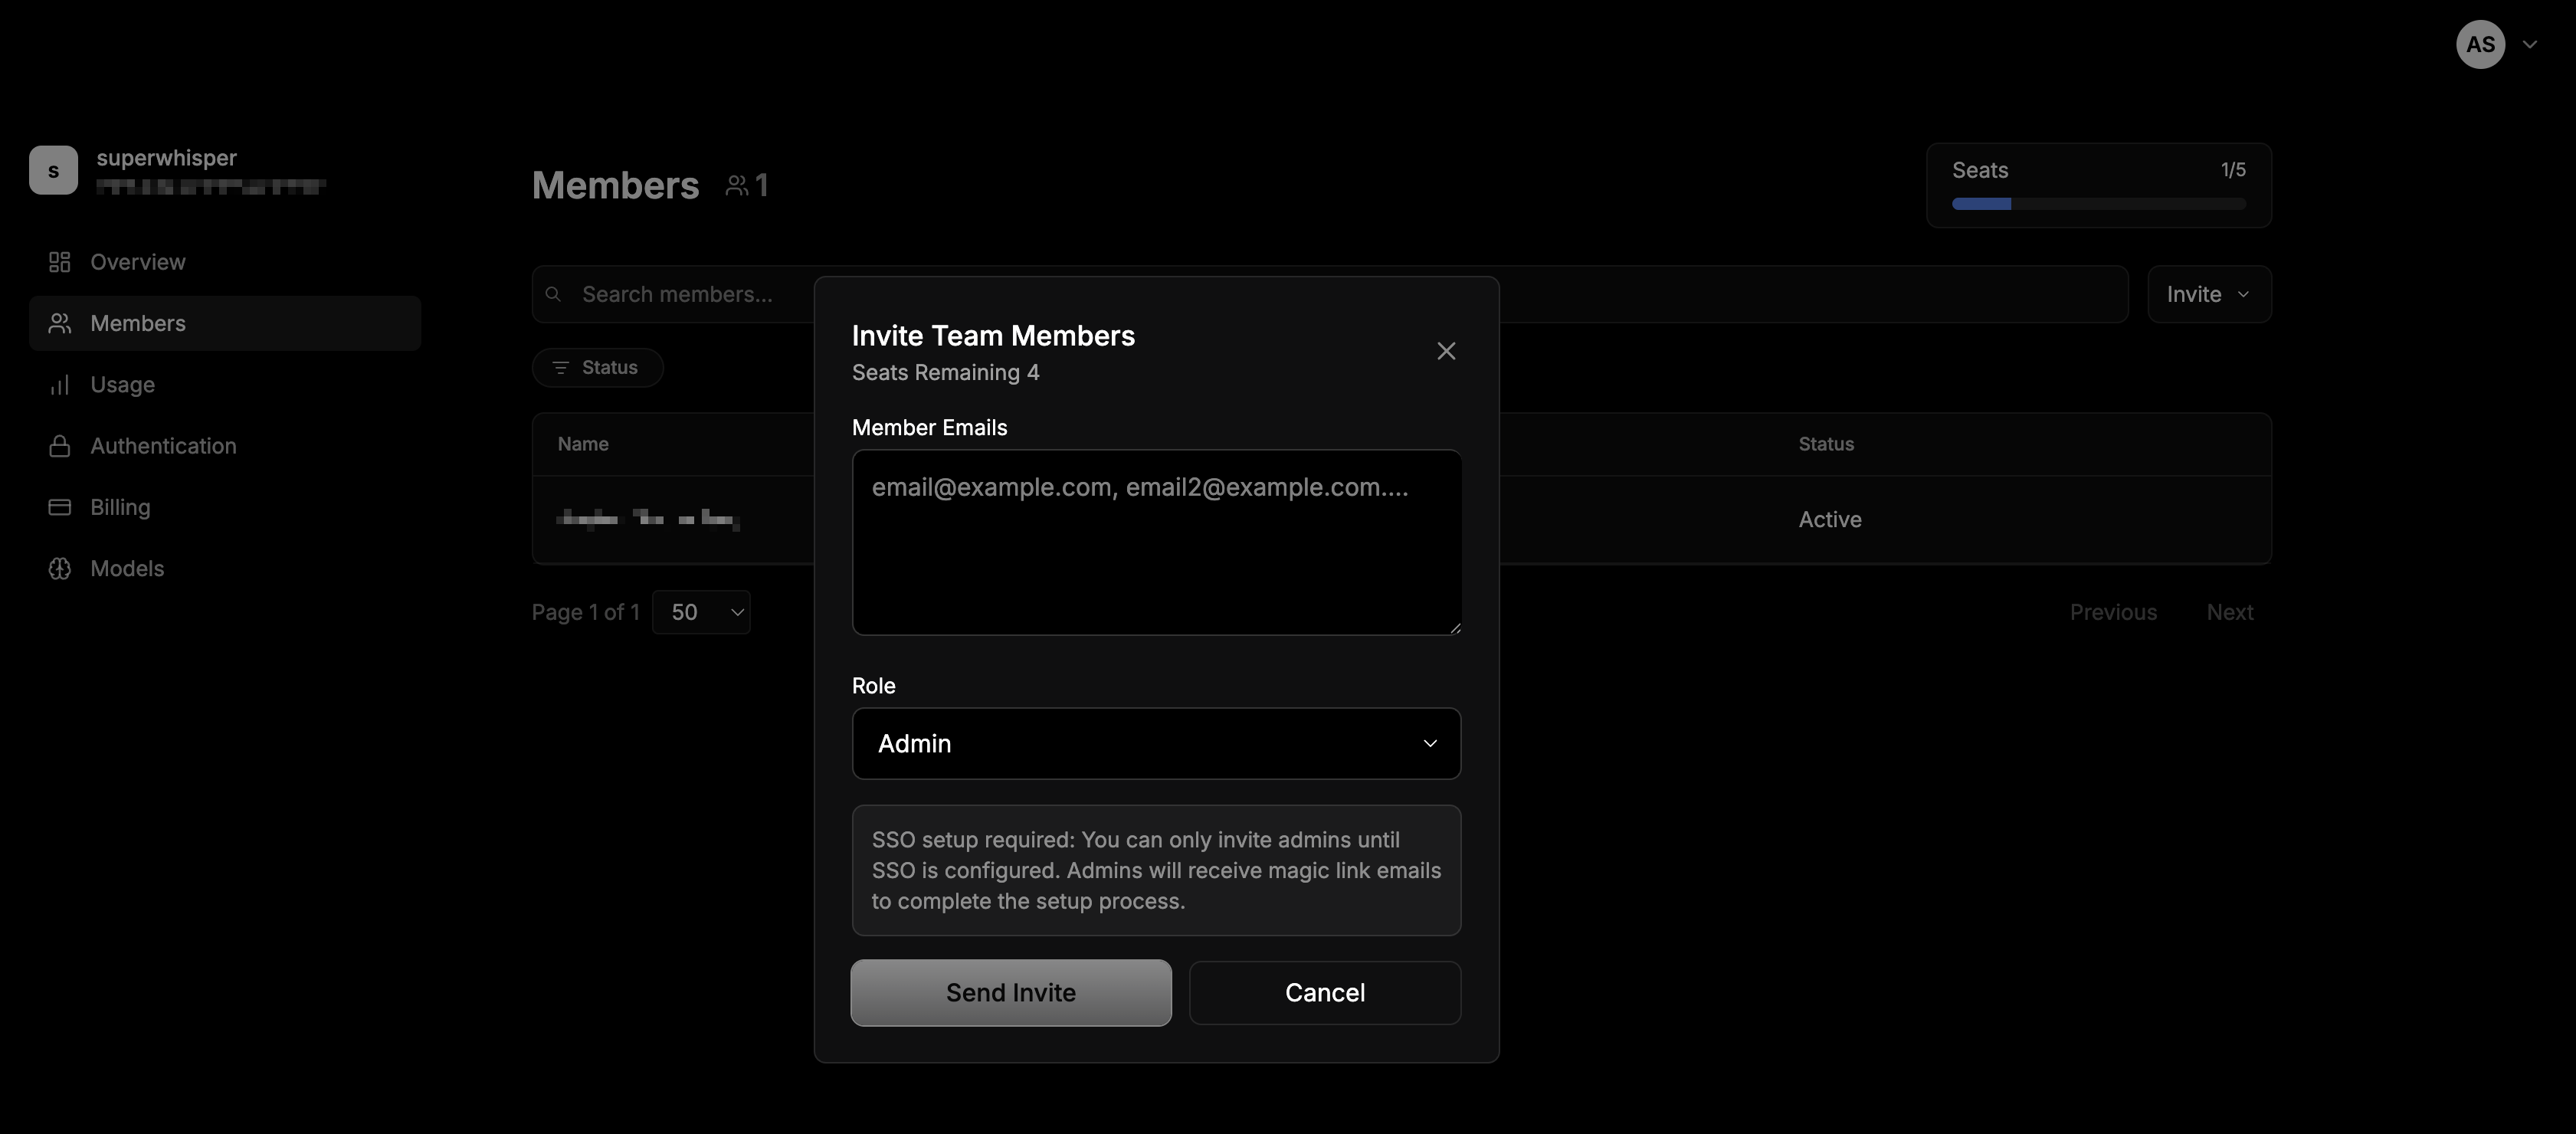
If you need assistance with SAML setup, you can invite IT or Security team members to help with configuration. Until SAML is fully configured, technical members can only access the dashboard via a magic invitation link.
- Go to the Members tab in your dashboard
- Invite via email as admin (see Member Management for detailed instructions)
- Access the Authentication page for SAML configuration
- View organization settings and your unique Assertion Consumer Service URL
- Help with technical setup and troubleshooting
Setting Up SAML
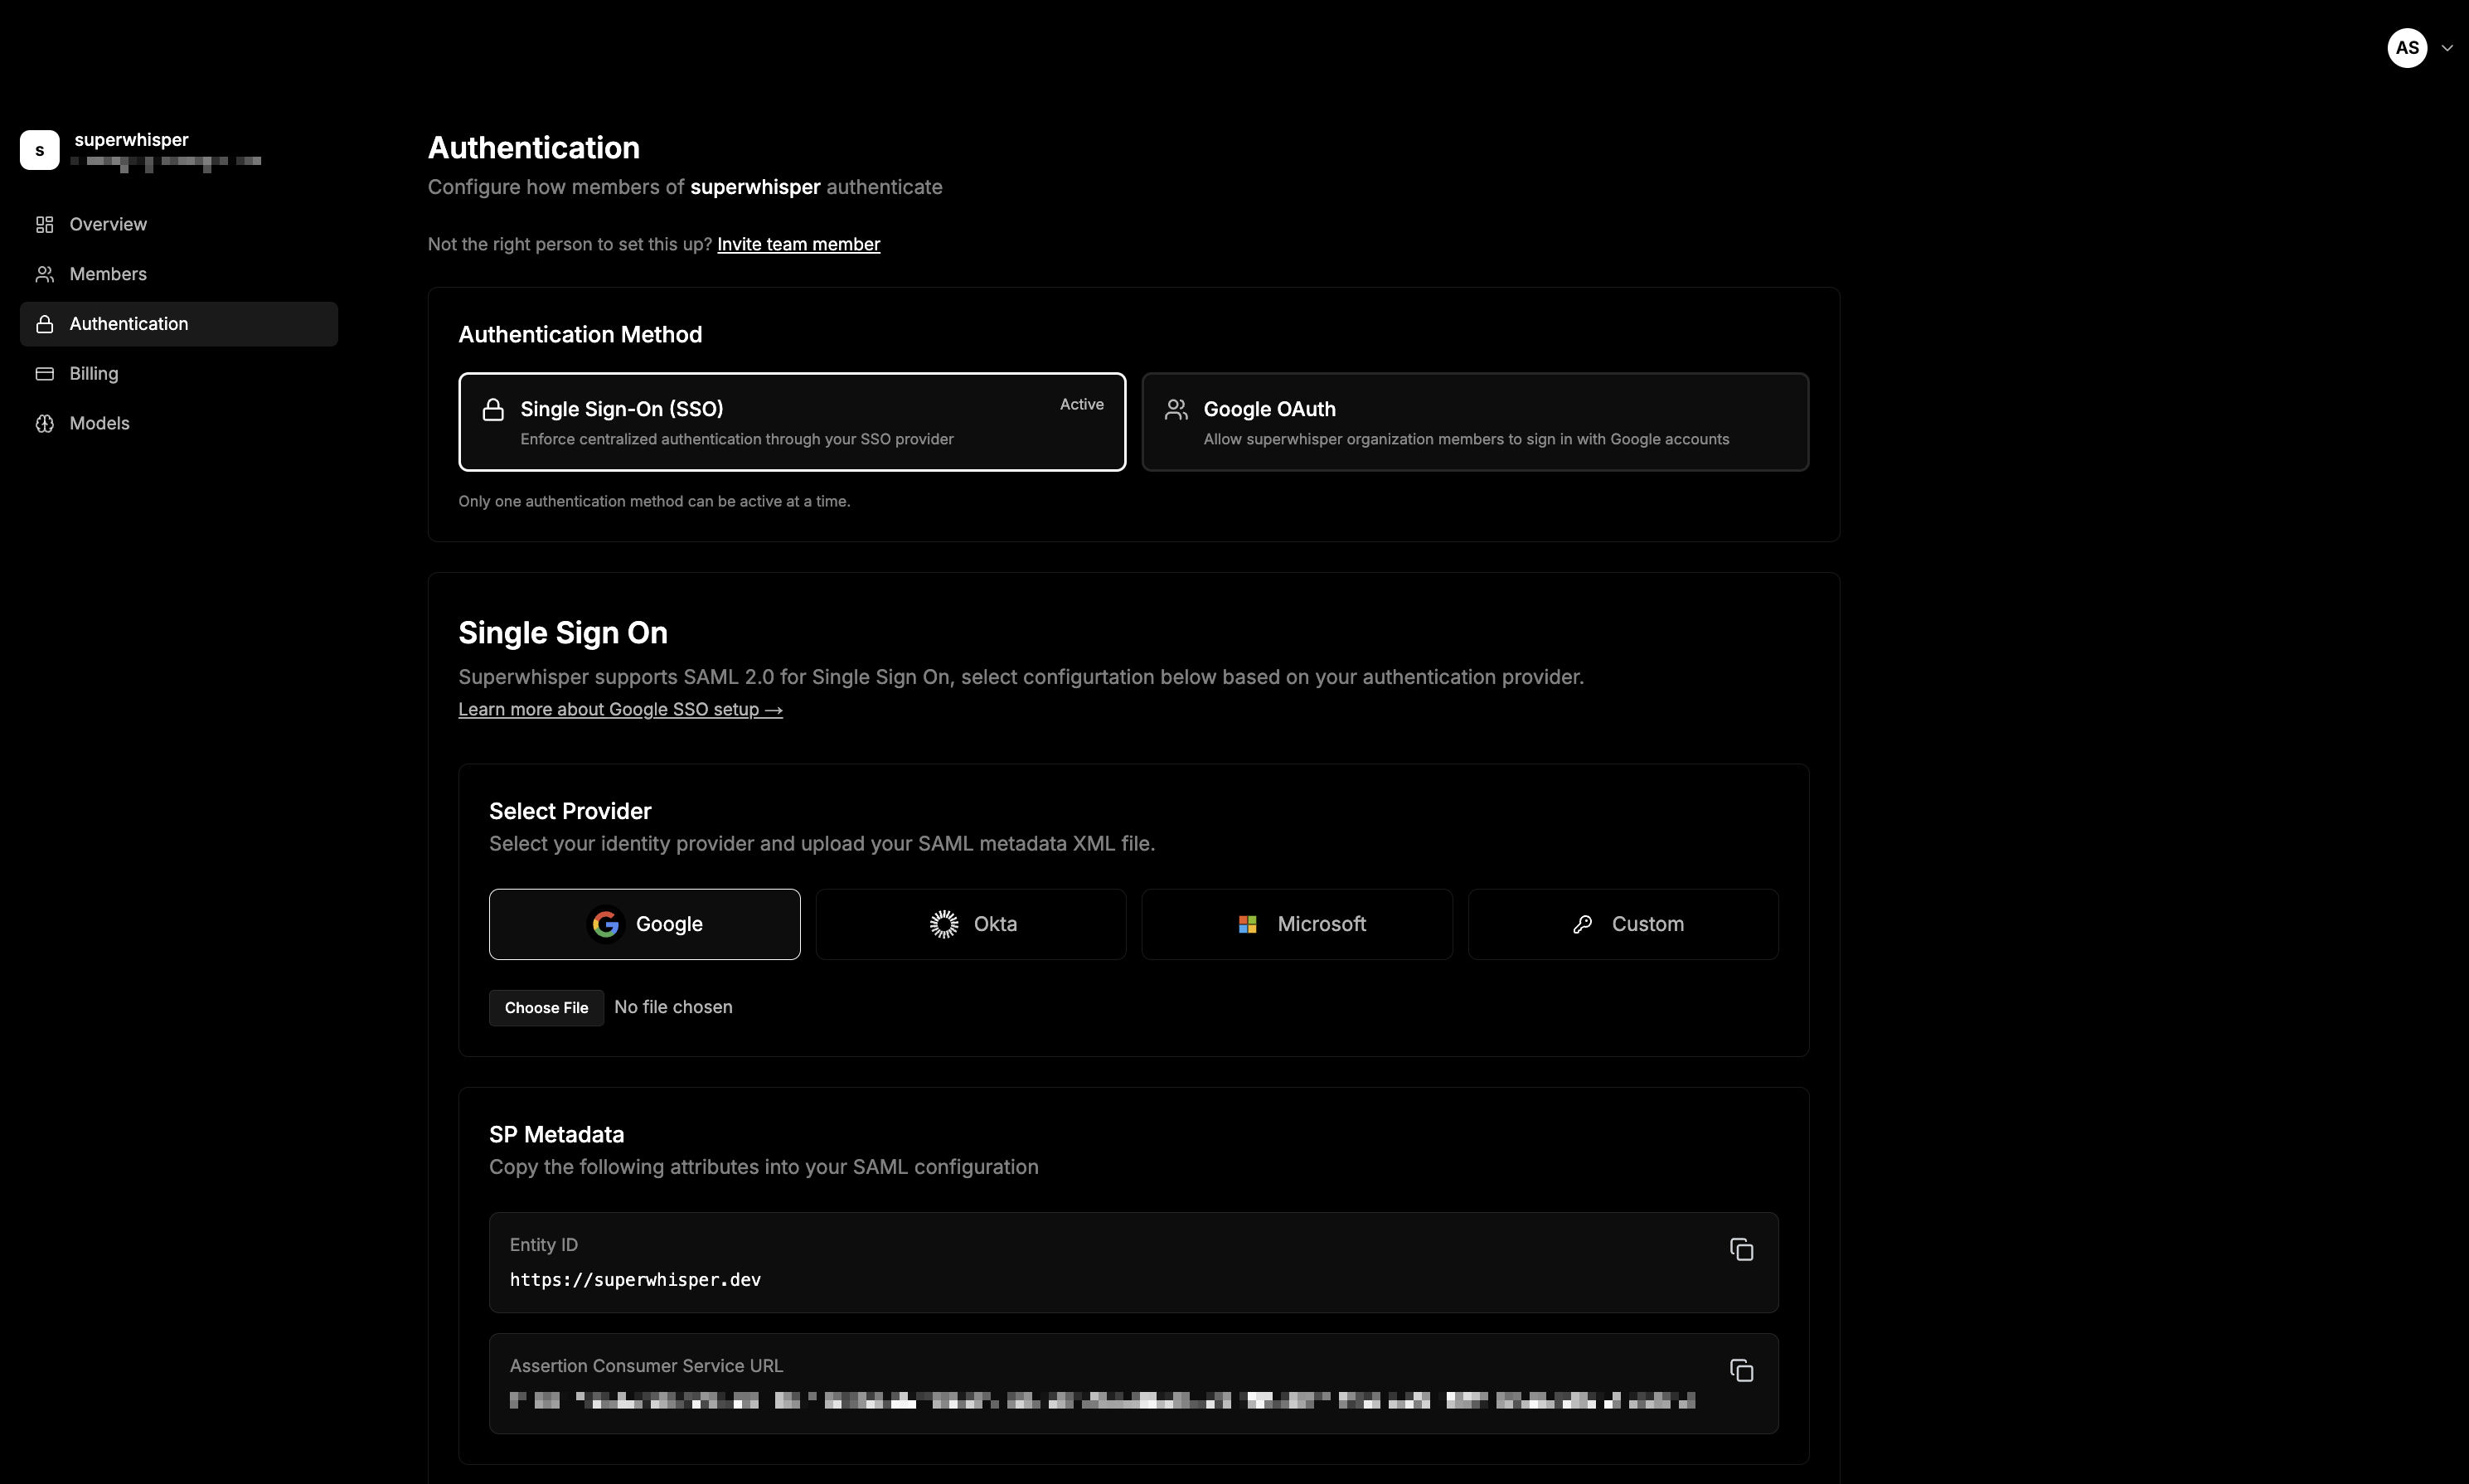
Once on the dashboard, navigate to the Authentication page to find all the information you need to get SAML going, including your organization’s unique Assertion Consumer Service URL.
Authentication Methods
Superwhisper offers two authentication methods:- Single Sign-On (SSO) - Use SAML 2.0 for enterprise SSO integration
- Google OAuth - Allow organization members to sign in with Google accounts
Setting Up Single Sign-On
Superwhisper supports SAML 2.0 for Single Sign-On. Follow these steps to configure your authentication provider:1. Select Your Identity Provider
Choose from the supported identity providers:- Google - For Google Workspace organizations
- Okta - For Okta identity management
- Microsoft - For Azure AD/Microsoft Entra ID
- Custom - For other SAML 2.0 compatible providers
2. Configure SP Metadata
Copy the following attributes into your SAML configuration: Entity ID:Note: Your Assertion Consumer Service URL will be unique to your organization and should be coped from the authentication screen

